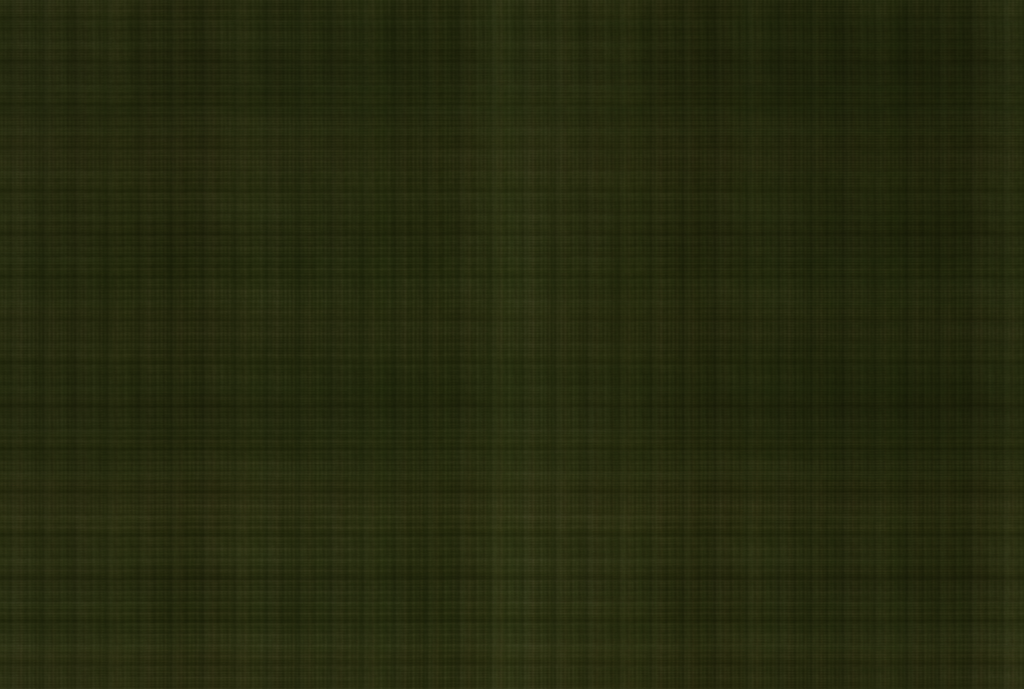
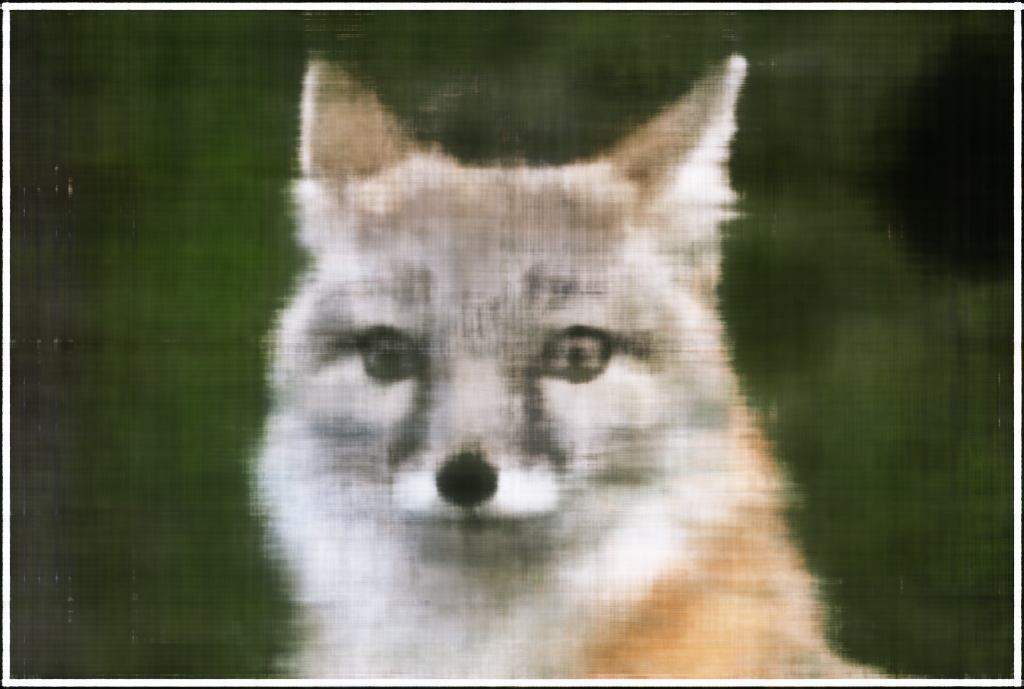
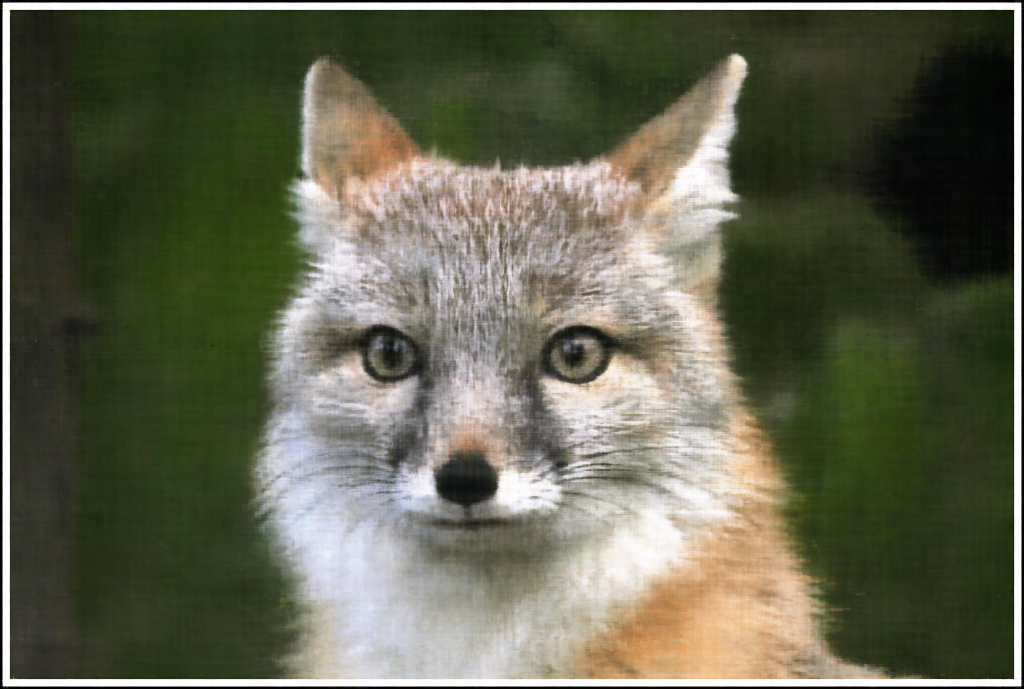
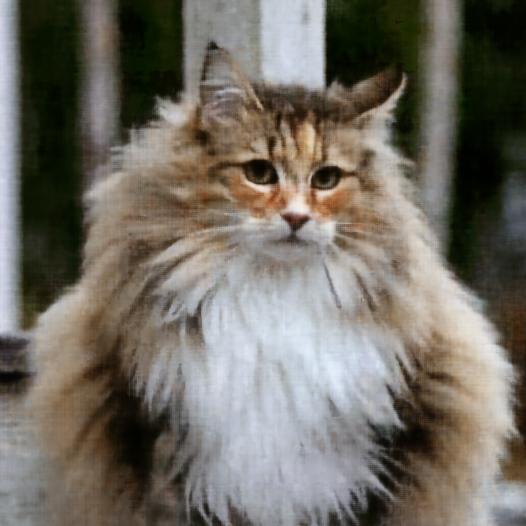
As a primer, I first implemented a 2 dimensional NeRF. In other words, I made a model that can take a pixel coordinate and tell me what the RGB value is for that pixel. I did this for the image below.
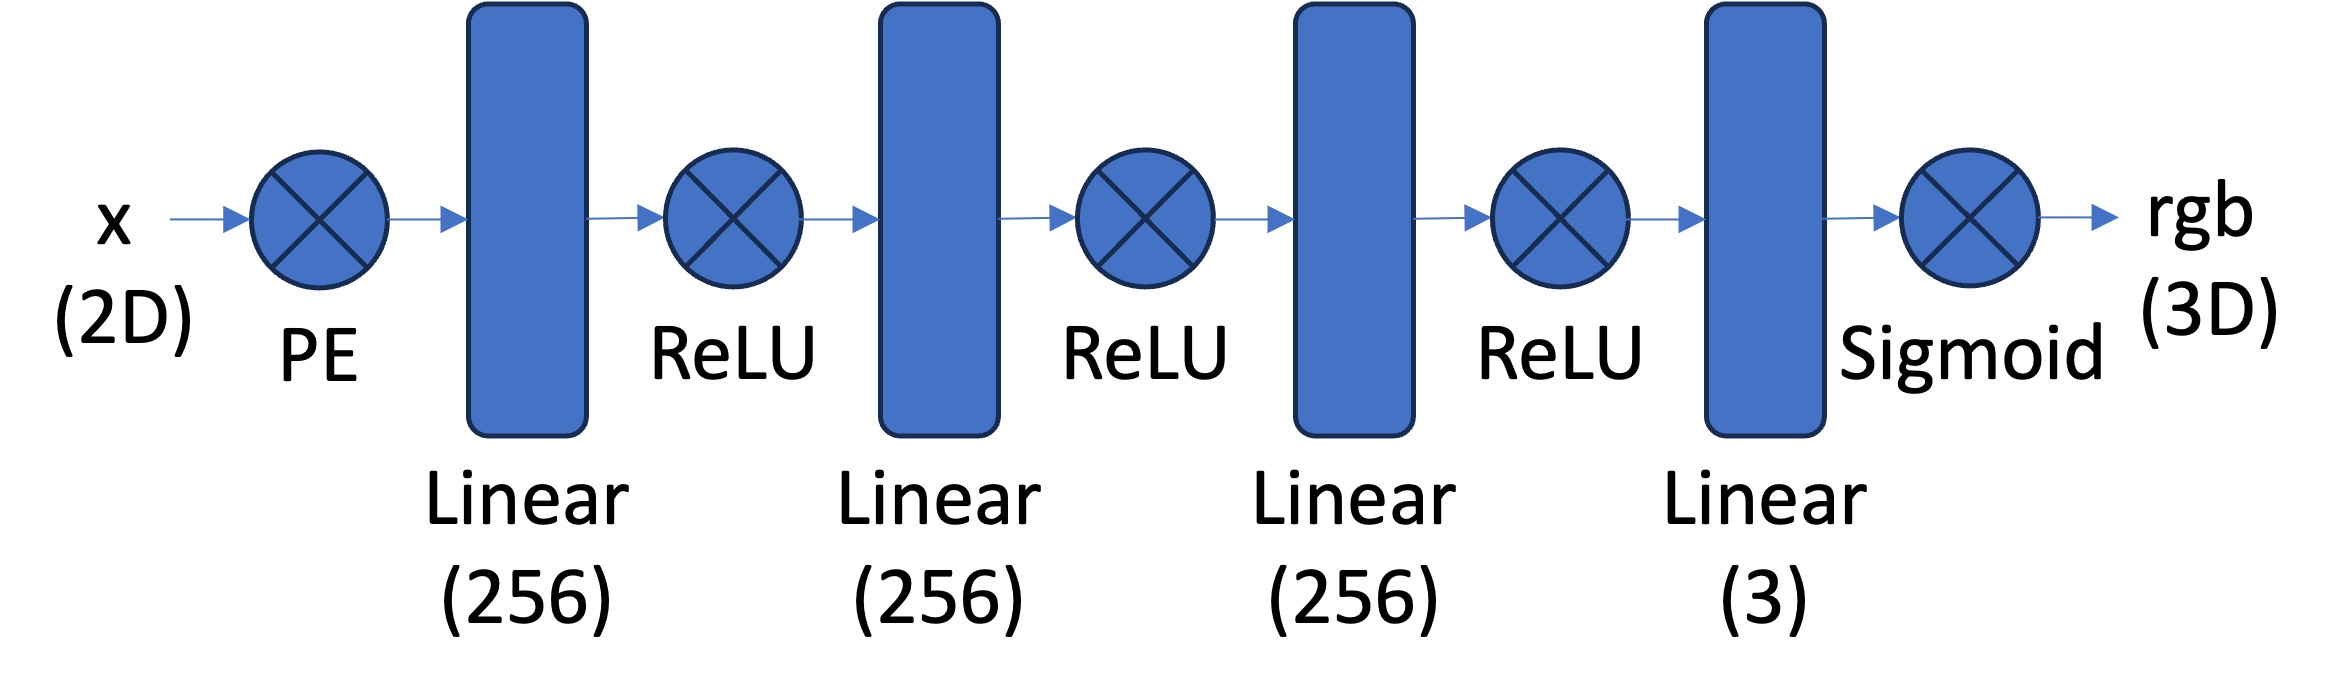
The model architecture is as shown below along with a sinusoidal positional encoder with frequency level = 10.
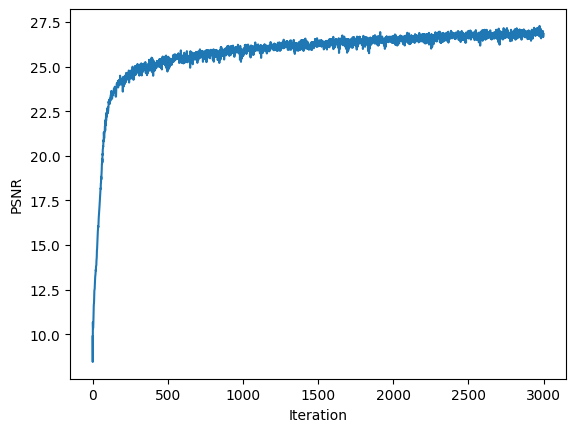
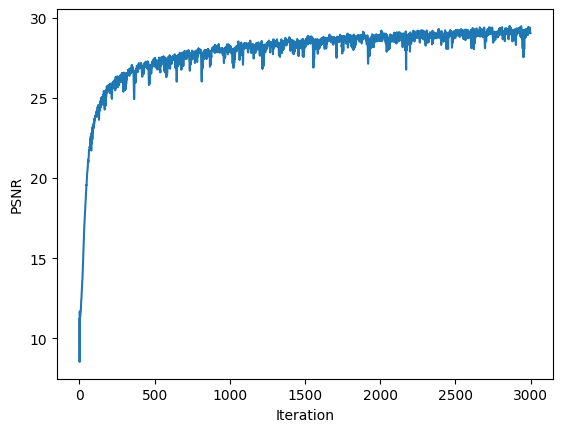
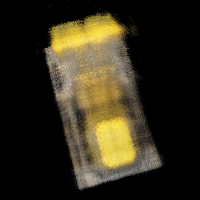
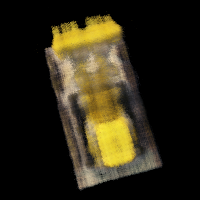
During training, for each training loop, I sample 10000 random pixels from the input image and feed this into the model. I did this for 3000 iterations, which yielded the following results.
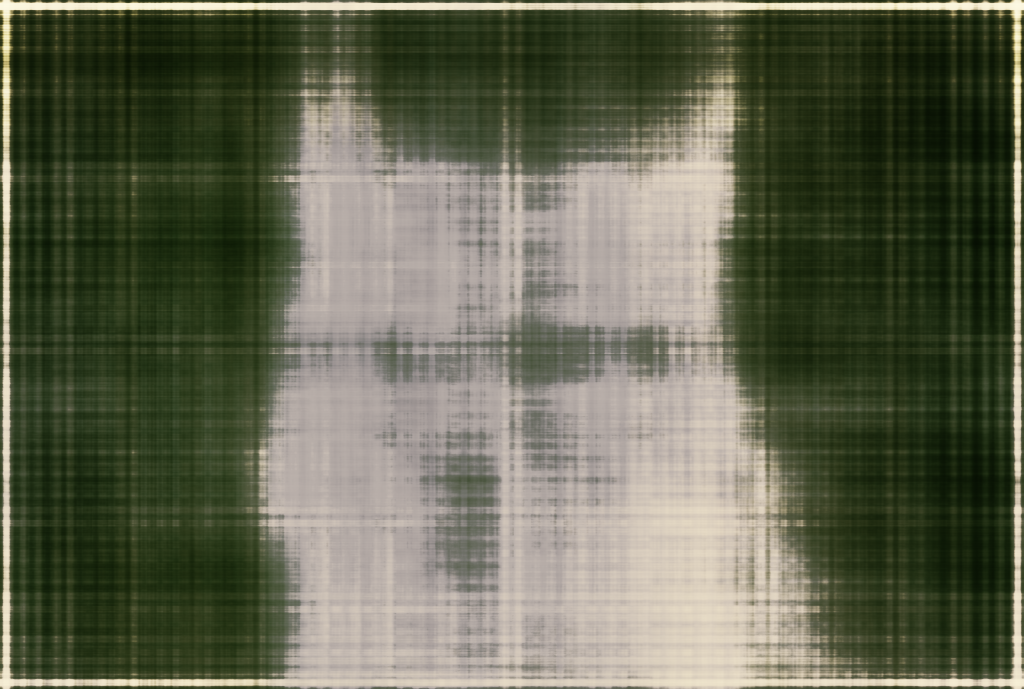
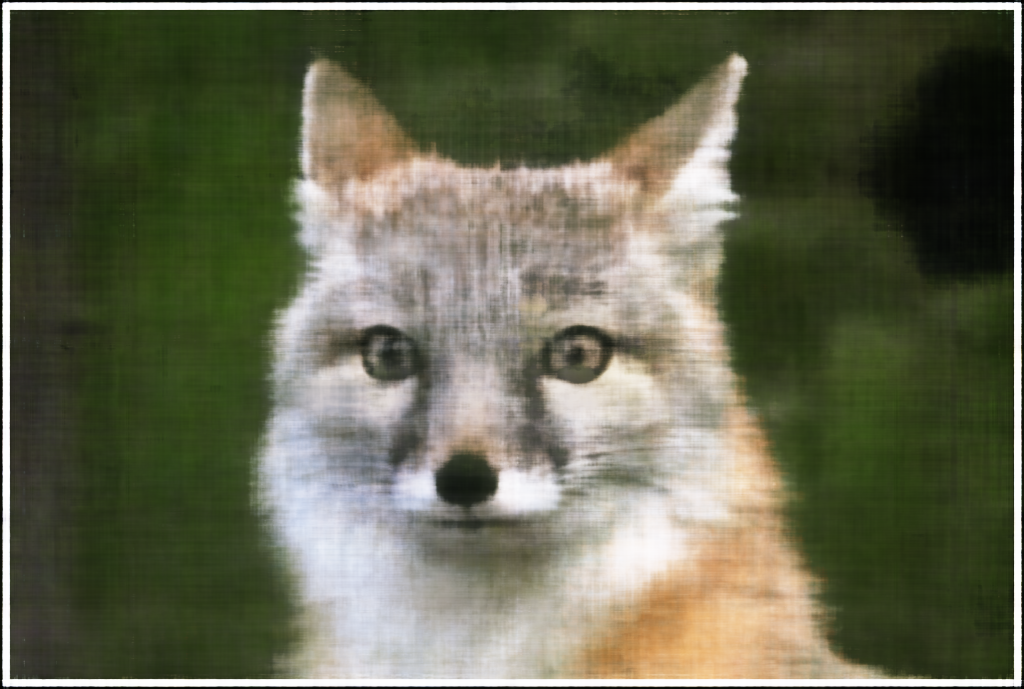
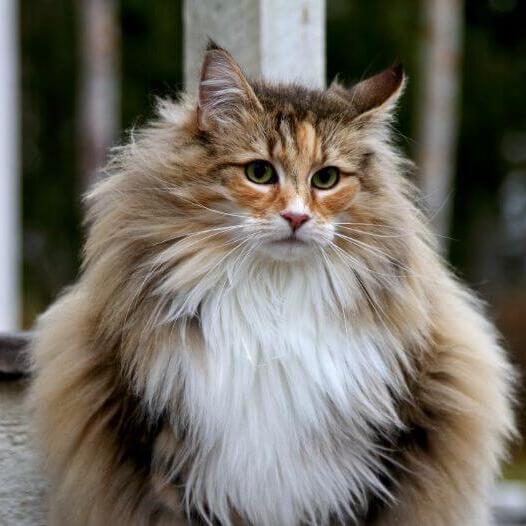
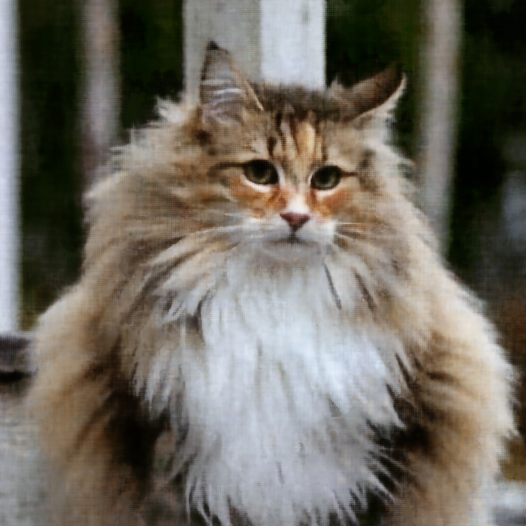
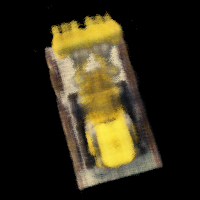
Finally, this model produces this recreation of the input image.
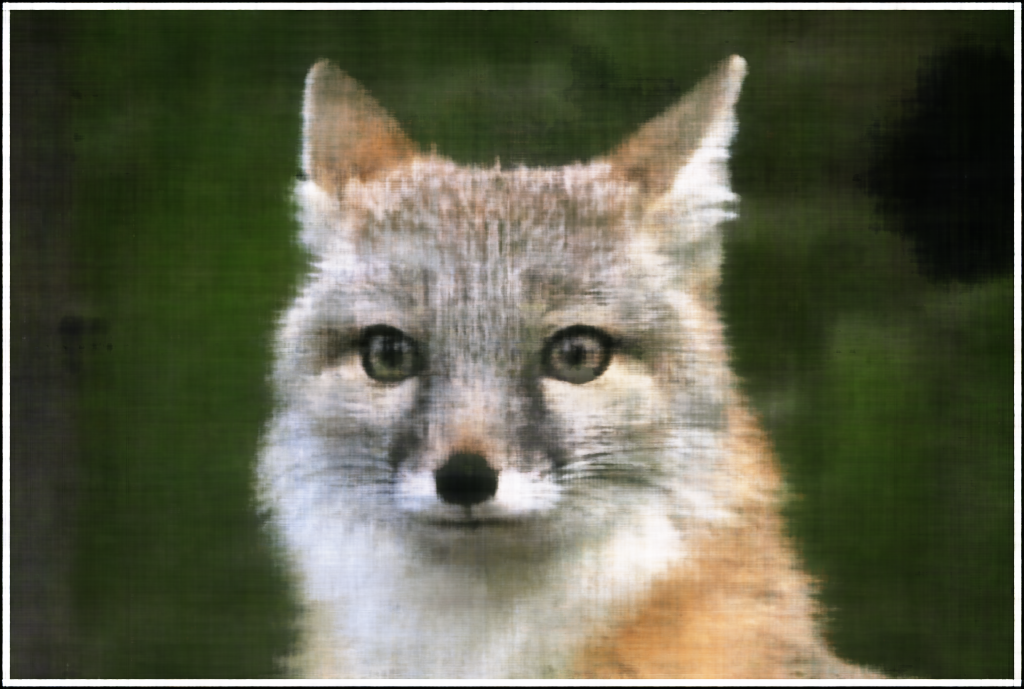
I repeated this process for a different image, yielding the following results:

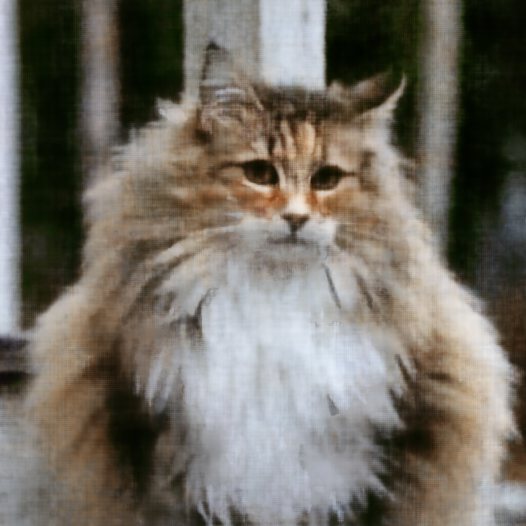
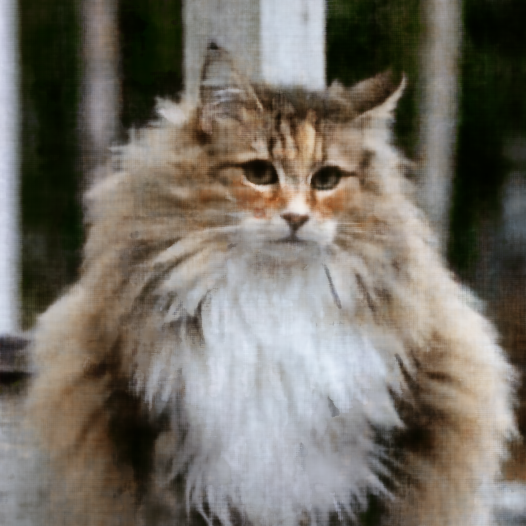
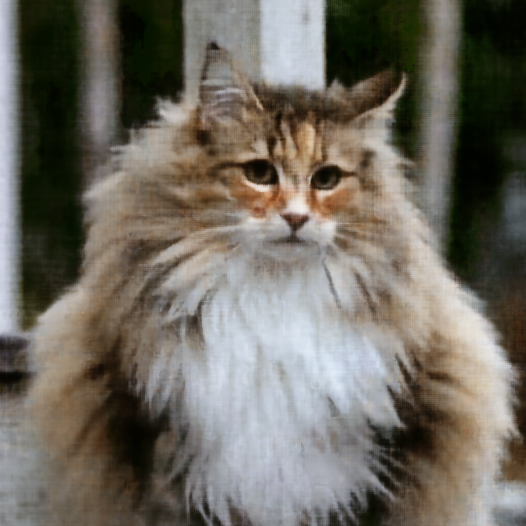
Finally, we get the following result (left is input and right is recreation):
NeRF essentially works by training a model to tell us what the RGB+density values are for a given view of the scene. Our dataset in this case will be a collection of images of the same object from varying perspectives. To train the NeRF, we randomly sample pixels across these images, calculate the rays for these pixels, and then feed the model these rays along with randomly sampled points along this ray. We then take the RGB+density values the model spits out and use them to compute the color for the pixel associated with each ray, and then compare this with the pixel we originally sampled. Through this process, we can generate views from arbitrary points using the model once it is trained.
To follow the above procedure, we need to both compute rays given a pixel and sample along these rays.
To go from pixel to rays, I simply used the translation component of the extrinsic matrix to get the origin ray and then I subtracted this from the pixel coordinate transformed to a world coordinate.
My sampling procedure was very straightforward. If perturbations are not wanted, I sample at a regular interval along the ray. Otherwise, I still sample at the regular interval, but then I add a small amount of noise to the samples.
In order to generate the pixel value for a given view, we need to aggregate over the points we sampled along our rays and add up the colors based on each point's contribution. This is determined via a factor term that represents the probability of the ray terminating exactly at a given point. This equation is known as the volume rendering equation and is how I will take the model's output and get pixel values.
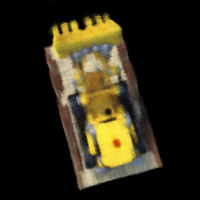
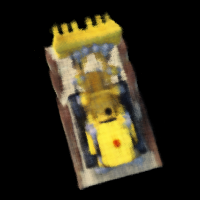
I trained my NeRF model for 3000 iterations with a Adam optimizer with learning rate 5e-4. Below is a visual for the progression of the model that shows the rendering of 6 validation views.
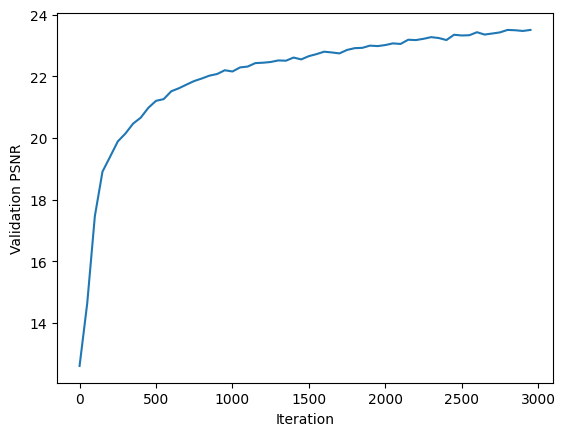
Here is a plot of the validation PSNR.
Here is a rendering done on test views.
We can make a slight modification to the volume rendering function to change the background color of our rendered images. If we compute a T_{n+1}, which is basically the exponential of the negative of the sum over all density values multiplied with step size, we get the probability of the ray not terminating for any of the samples. This means we are on a background pixel. So we multiply this probability with our background color and add this to our final color output.